
Assembly
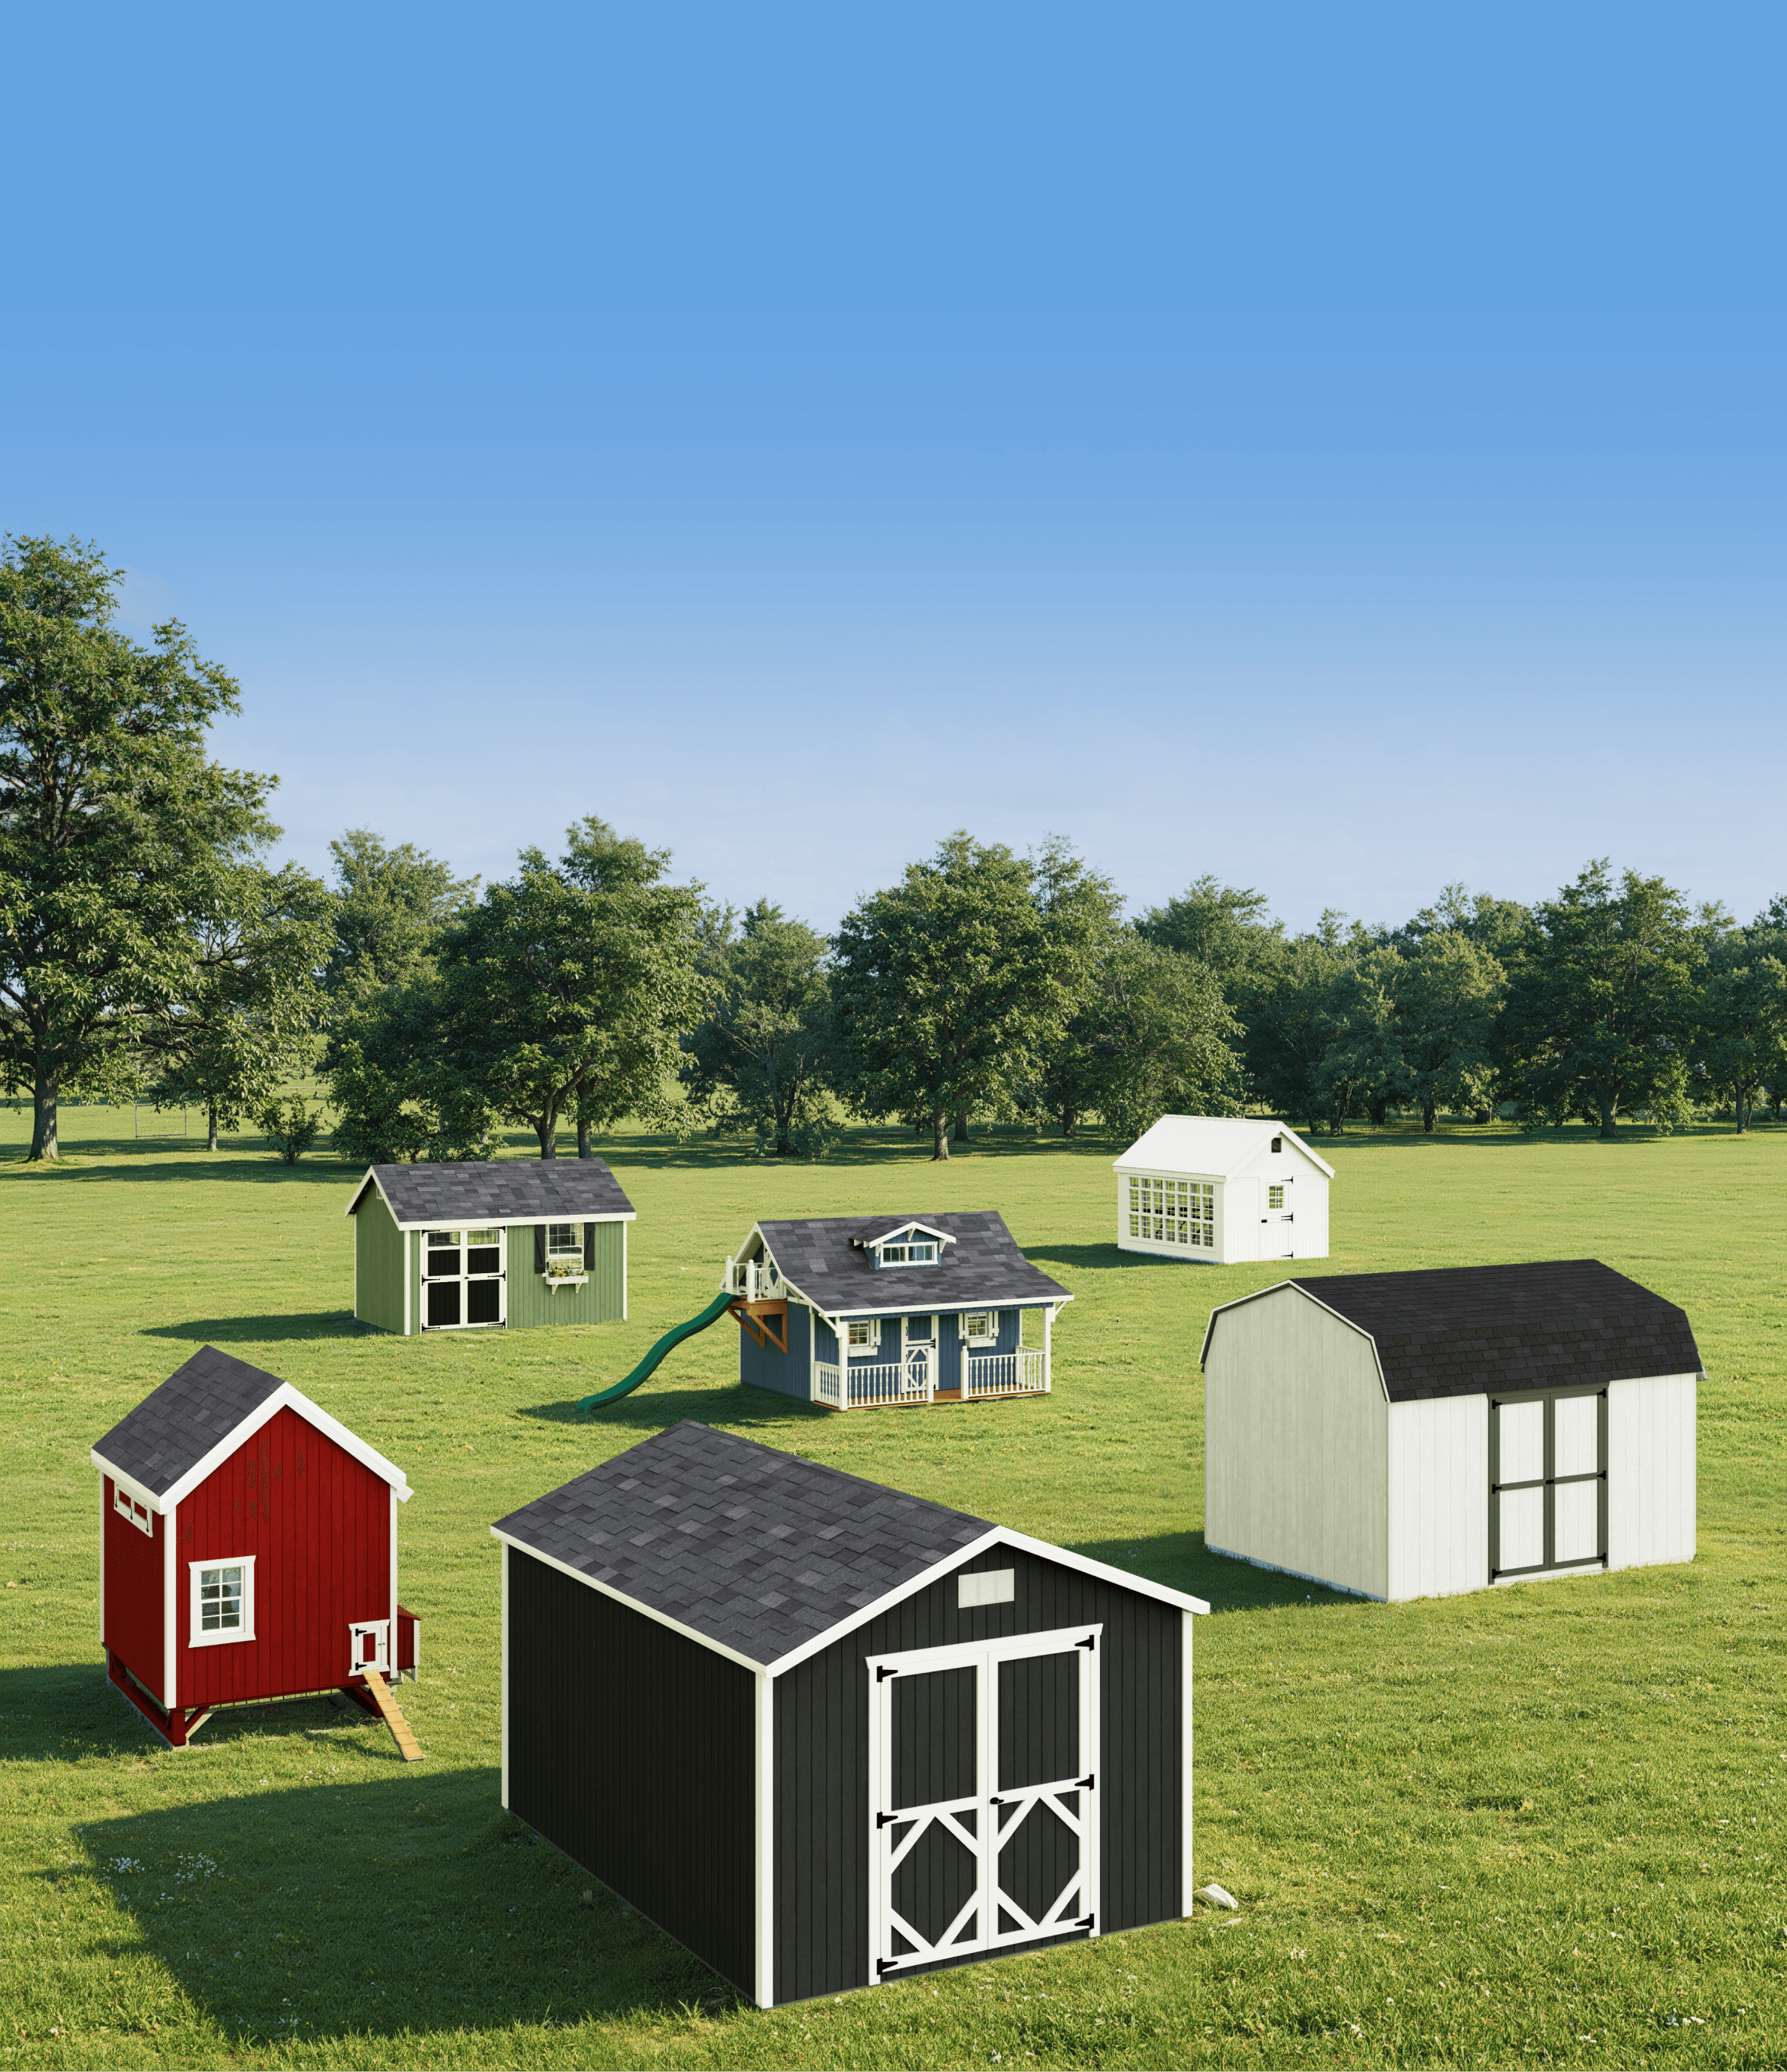
We offer a variety of DIY kits for our playhouses, sheds, and barns. Our kits come in three different styles: pre-cut, panelized, and pre-assembled.
Playhouse Kits
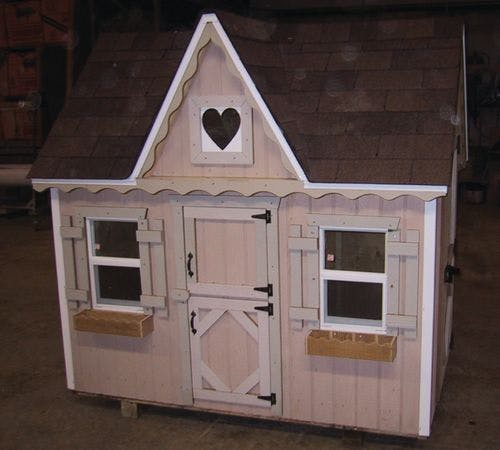
Our DIY playhouse kits can be built by DIY handyman and parents alike! In addition to saving on your shipping costs (compared to a pre-built playhouse), our pre-cut, pre-primed, ready-to-assemble kits make it easy to build a memory for your child that will last a lifetime. We have had people tell us how excited the kids were when the parents were assembling the playhouse kit. The kids get to see their parents creating and building, leaving a lasting memory for the child!
When your DIY panelized kit arrives there will be an envelope inside containing layouts and an instruction manual for your specific product. Assembly time will take 2 adults approximately 4-8 hours, depending on the size of the playhouse and skill level. Sara's Victorian Mansion kits will take longer. With the exception of the roof, the kit comes with panels which are alphabetized for easy assembly. All you need to do is fasten the panels with screws!
IMPORTANT: The below is only a SAMPLE of the instruction manual.
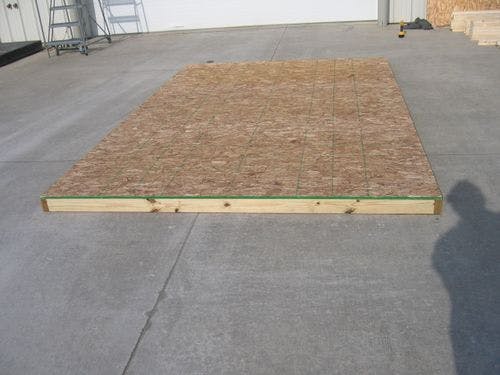
Step 1: Floor
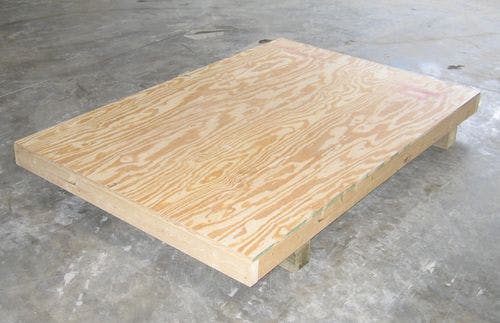
Purchase an optional floor kit from Little Cottage Co. or purchase supplies from your local home improvement store.
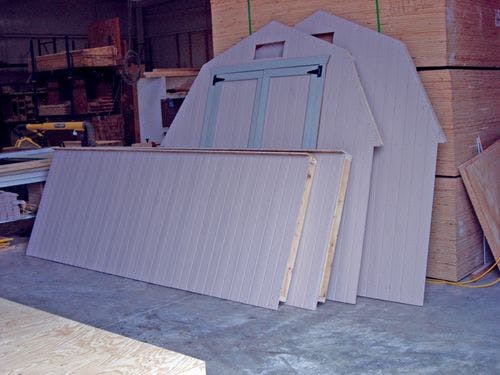
Step 2: Walls
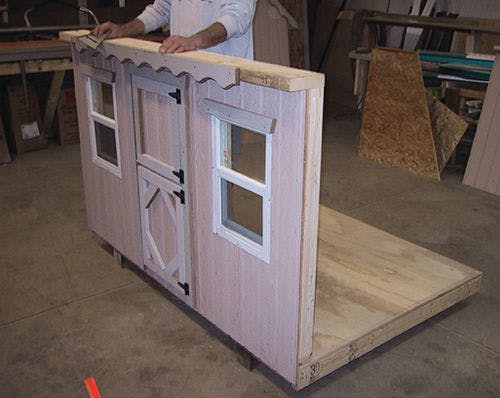
Install the pre-made, alphabetized panels.
Step 3: Trim
Install the pre-fastened trim included in your playhouse kit.
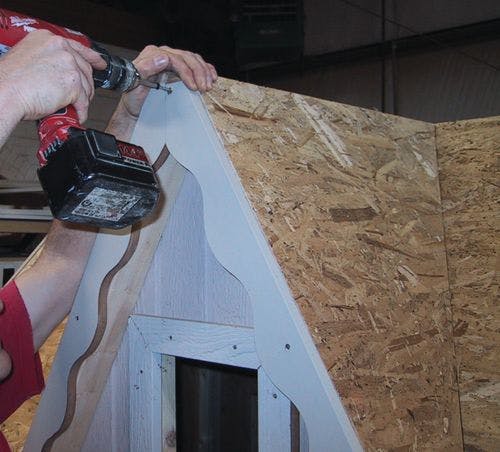
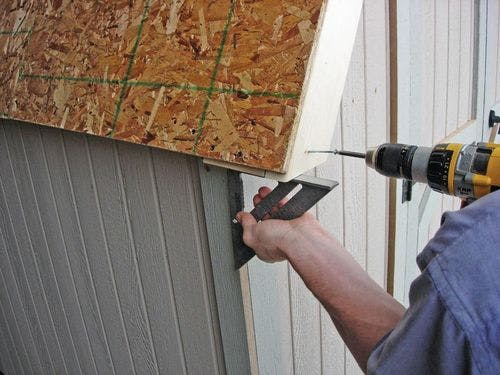
Step 4: Roof
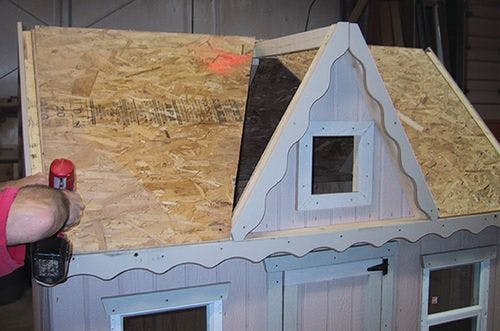
Next, install the pre-cut trusses and pre-cut sheeting that make up the roof.
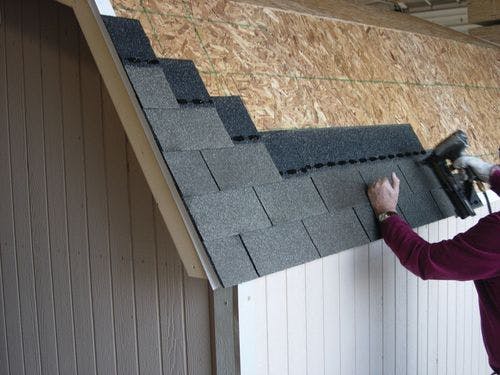
Step 5: Shingles
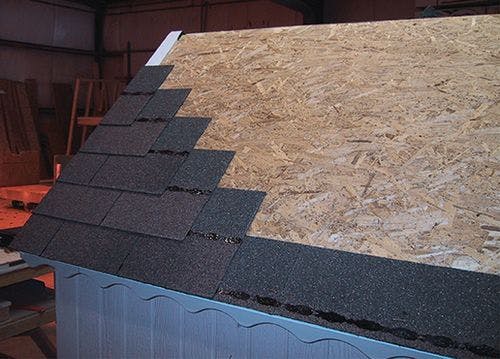
Install drip edge and roof shingles (not included, available at local hardware store).
Step 6: Dressings
Install shutters and flower boxes (included in kit).
Step 7: Porch

Install the optional porch, if purchased with your kit.
Step 8: Paint

Your playhouse is primed and ready for paint (paint not included).
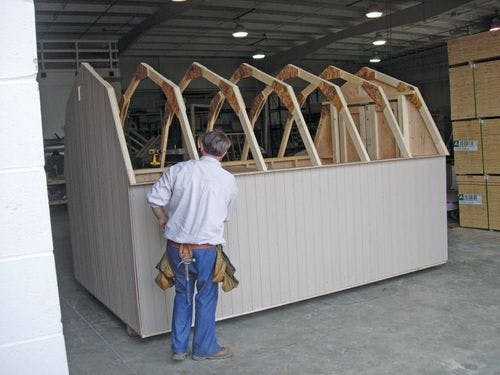
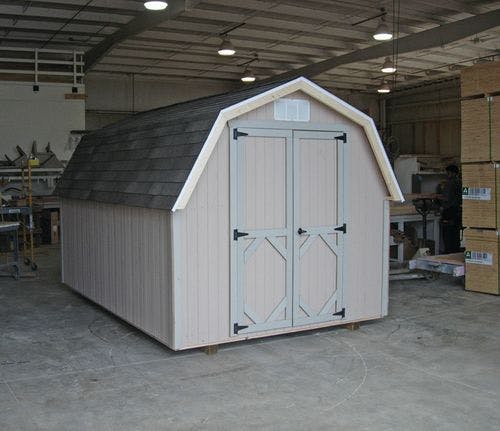
Shed & Barn Panelized Kits
Depending on the size of the building and skill level, assembly will take approximately 4-8 hours. The panelized kit comes with pre-assembled panels (with the exception of the roof) and requires no extra cutting. All you need to do is fasten it together with the hardware provided. The unit is primed and ready for paint. You will need to provide shingles, drip edge, and paint - a quantity list will be provided.
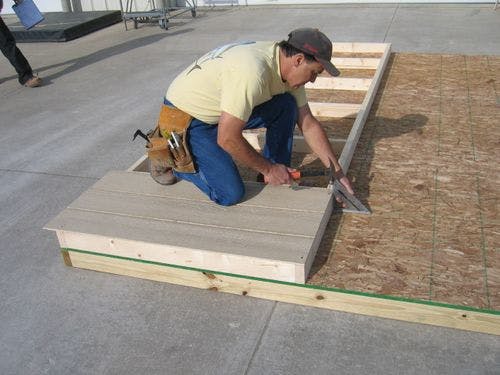
Step 1: Floor
Purchase an optional floor kit from Little Cottage Co. or purchase supplies from your local home improvement store.
Step 2: Walls
Your kit will come with wall sections and other supplies.
Step 3: Skills
You'll need to have some basic carpentry skills to assemble your kit.
Step 4: Wall Panels
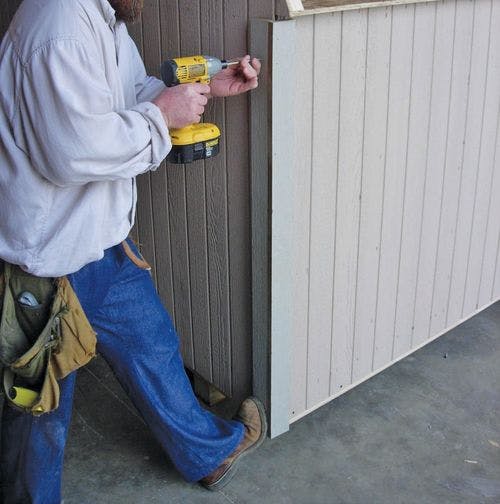
Install the pre-made wall panels and trim.
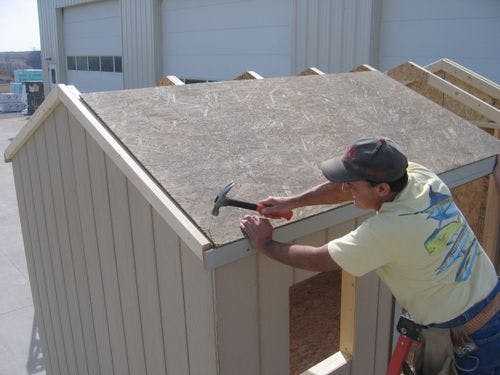
Step 5: Trusses
Install the precut trusses and pre-cut sheeting that make up the roof.
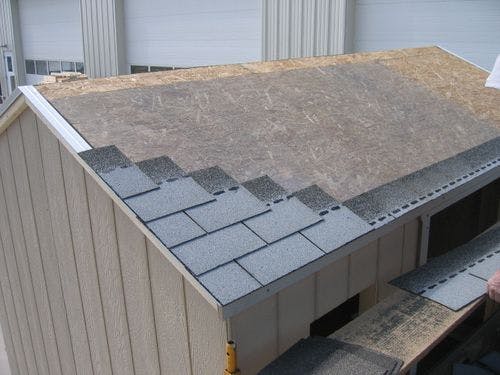
Step 6: Roof
Install drip edge and roof shingles (not included, available at local hardware store).
Step 7: Paint
Your building is primed and ready for paint. Next step… enjoy!
Shed & Barn Precut Kits
Depending on the size of the building and skill level, assembly will take several days to finish. The precut kit comes with everything precut, labeled, primed and ready to assemble. You will need to provide shingles, drip edge and paint - a quantity list will be provided.
Step 1: Floor
Purchase an optional floor kit from Little Cottage Co. or purchase supplies from your local home improvement store.
Step 2: Walls
Assemble the walls with the pre-cut parts provided.
Step 3: Roof
Install the trusses and sheathing.
Step 4: Shingles
Install drip edge and roof shingles (not included, available at local hardware store).
Step 5: Windows
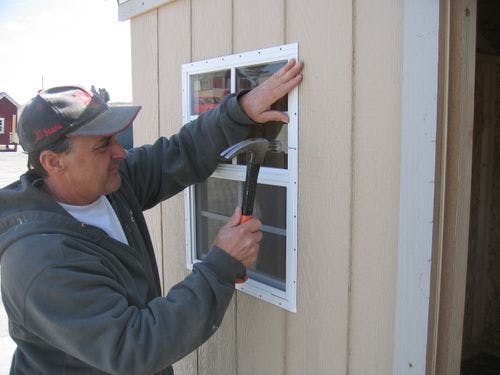
Install windows (provided with the kit).
Step 6: Trim
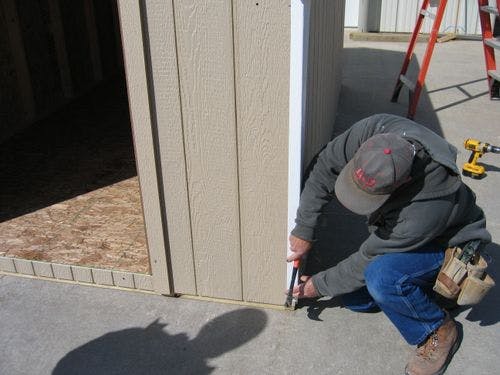
Install the trim included in the kit.
Step 7: Door
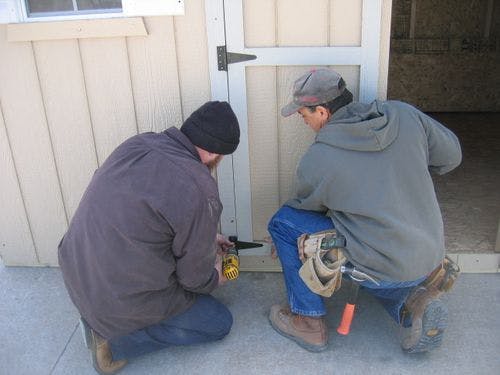
Install the door
Step 8: Paint
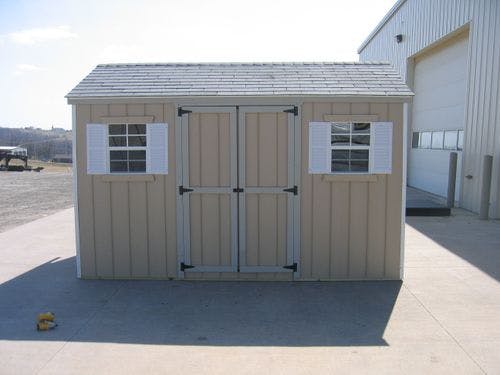
Your building is primed and ready for paint. Next step… enjoy!
Still have questions? Give us a call at (330) 893-4212.

Not Sure Where to Start?
Our quick quiz helps you find the right building for your space and needs.
Take a Quiz